
Introduction
If you suspect that your car’s alternator is not working correctly, it’s essential to test it to identify any potential issues. While you can take your vehicle to a mechanic for testing, it is possible to test the alternator yourself using a few tools and some basic knowledge. In this article, we will show you how to test your alternator in three different scenarios – if your car is running, if your car is not running, and even without a multimeter. By following these step-by-step guides, you can identify any issues with your alternator and potentially save yourself time and money in repairs.
Tools and Materials Needed
To test your alternator, you will need the following tools and materials:
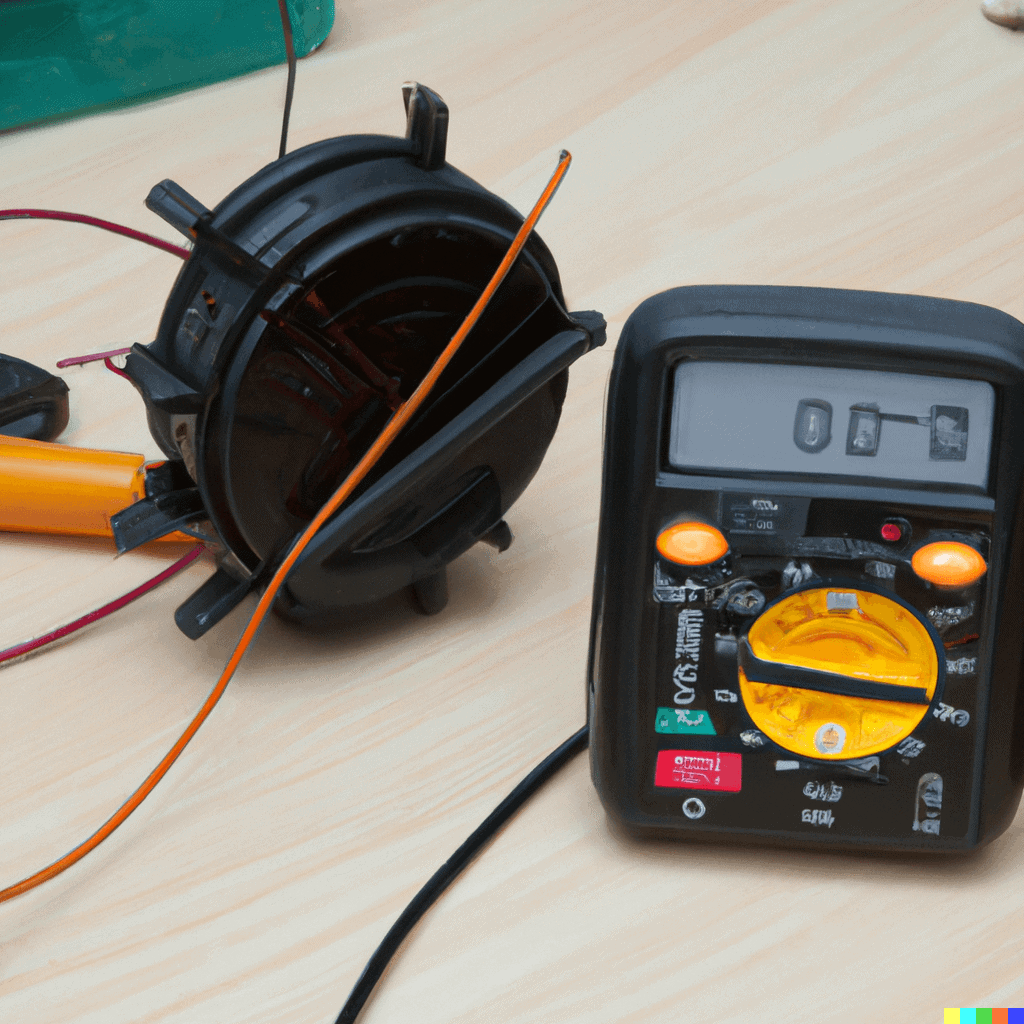
• A digital multimeter
• Protective gloves
• Safety glasses
Testing Your Alternator – Step-by-Step Instructions
Testing when car is running
1. Park your vehicle on a level surface and set the parking brake.
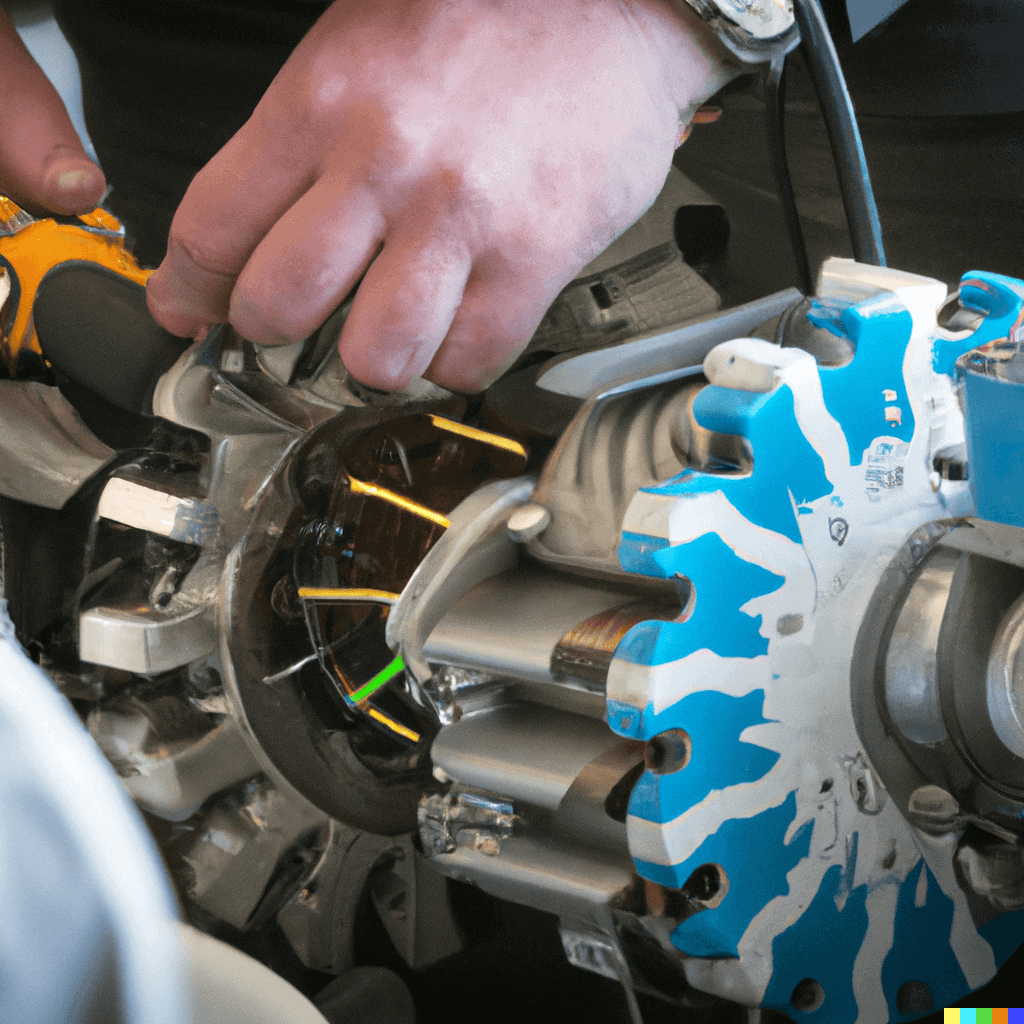
2. Open the hood and locate the alternator. It is usually near the front of the engine and connected to the serpentine belt.
3. Start the engine and let it idle. Turn off all electrical components, such as the radio and lights.
4. Put on your protective gloves and safety glasses.
5. Take the positive (red) lead from the digital multimeter and attach it to the positive battery terminal. Then, take the negative (black) lead from the multimeter and attach it to the negative battery terminal.
6. Check the voltage reading on the multimeter. It should read between 13.5 to 15 volts. This is the normal charging range for most alternators.
7. If the reading is lower than 13.5 volts or higher than 15 volts, there may be an issue with the alternator.
8. Rev the engine and check the voltage reading on the multimeter again. The voltage should increase to between 14 to 15 volts.
9. If the voltage reading does not increase, or if it drops, it may indicate a problem with the alternator or the voltage regulator.
Testing when car won’t start
If your car won’t start, it can be difficult to determine whether the issue is caused by a dead battery or a faulty alternator. However, there are a few methods you can use to test the alternator even if the car won’t start. Here are some tips on how to test the alternator if your car won’t start:
1. Jumpstart the car: If your car won’t start, the first thing you should do is try to jumpstart it. If the car starts with a jump, it’s likely that the battery is the issue. However, you can still test the alternator using the following steps.
2. Check the battery voltage: Use a voltmeter or test light to check the voltage of the battery. If the voltage is less than 12 volts, the battery may be dead or not holding a charge. If the voltage is higher than 12 volts, the battery may be working properly, but the issue could be with the alternator.
3. Check for signs of wear or damage: Inspect the alternator for any signs of wear or damage, such as cracks, leaks, or loose wires. If you notice any issues, it may be an indication that your alternator is not functioning properly.
4. Test the alternator: Start the engine and let it idle for a few minutes. Then, turn on the headlights and other electrical components, and observe the behavior of the lights. If the lights become dim or flicker, it may be an indication that the alternator is not providing enough power. If the lights remain bright and steady, the alternator may be working properly.
5. Use a charging system analyzer: A charging system analyzer is a specialized tool that can test the battery, alternator, and other components of the charging system. If you have access to this tool, you can use it to diagnose any issues with your alternator even if the car won’t start.
If you suspect that the alternator is the issue, it’s always best to have it checked by a professional mechanic with the proper equipment and expertise to diagnose and repair any problems.

Testing without a multimeter- How to check if you have a bad alternator without a multimeter
If you suspect that your car’s alternator is not functioning properly, you may be wondering how to test it without a multimeter. While a multimeter is the most accurate and reliable way to test an alternator, there are a few methods you can use to get an idea of whether your alternator is working properly. Here are some tips on how to test an alternator without a multimeter:
1. Listen for unusual sounds: Start your car and listen for any unusual sounds coming from the engine compartment. A faulty alternator can sometimes make a whining or grinding noise. If you hear any unusual sounds, it may be an indication that your alternator is not working properly.
2. Check the battery voltage: With your car running, turn on the headlights and other electrical components. Then, use a voltmeter or test light to check the battery voltage. If the voltage is less than 13 volts, it may be an indication that your alternator is not charging the battery properly.
3. Check the dashboard warning lights: Most modern cars have a dashboard warning light that indicates when there is a problem with the alternator. If the warning light is on, it’s a clear indication that your alternator is not working properly.
4. Check for belt tension: If the alternator belt is loose, it may not be spinning the alternator properly, which can lead to a lack of power and other issues. Check the belt tension to ensure that it’s tight enough to spin the alternator.
5. Check the alternator visually: Inspect the alternator for any visible signs of damage, such as cracks, leaks, or loose wires. If you notice any issues, it may be an indication that your alternator is not functioning properly.
While these methods can give you an idea of whether your alternator is functioning properly, it’s important to note that they are not as accurate as using a multimeter. If you suspect that your alternator is not working properly, it’s always best to have it checked by a professional mechanic. They can use specialized diagnostic equipment to accurately diagnose any issues with your alternator and make the necessary repairs.
Troubleshooting Common Issues
If you encounter any issues while testing your alternator, here are a few troubleshooting tips:
• Check the drive belt to make sure it is tight and not slipping.
• Inspect the battery terminals for corrosion and clean them if necessary.
• Check the connections on the alternator and the battery to ensure they are secure.
• Inspect the alternator wiring to make sure there are no loose or damaged connections.
What to Do if Your Alternator Fails the Test
If your alternator fails the test, it may need to be replaced. However, before replacing it, take your vehicle to a mechanic for a more detailed inspection to confirm the issue.
Conclusion
In conclusion, testing your car’s alternator may seem daunting at first, but with the right tools and instructions, it’s a straightforward process that can save you time and money. Remember to wear protective gear and follow the steps carefully to ensure an accurate reading. If you encounter any issues, troubleshoot them accordingly, and seek professional assistance if needed.